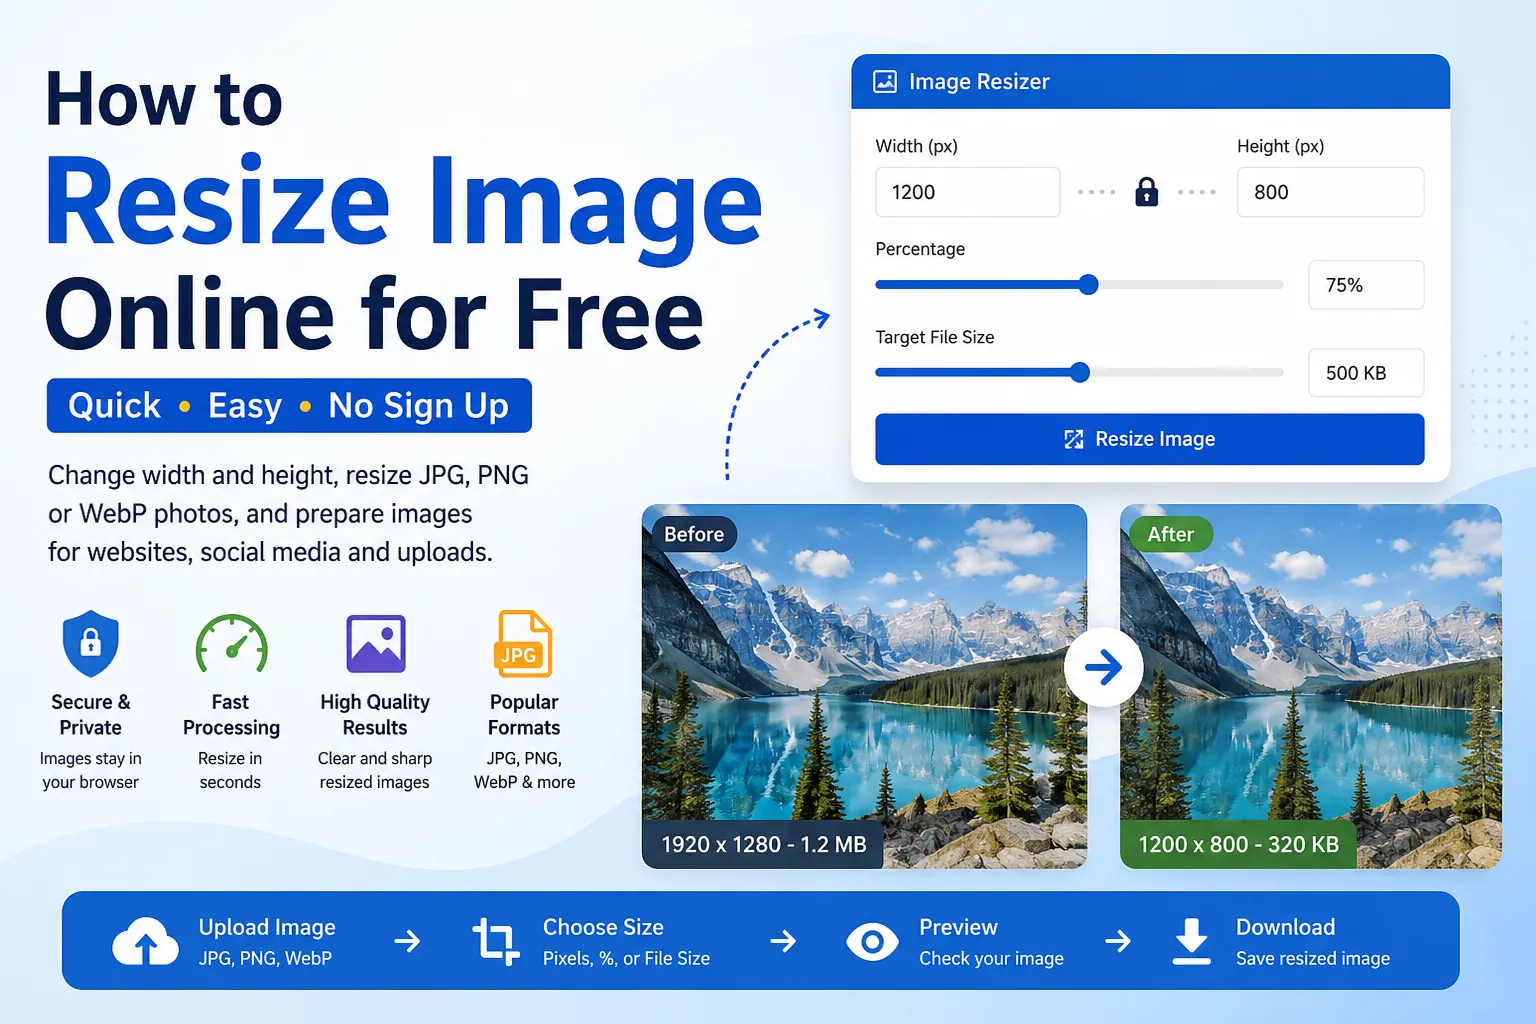
Resize image online for free when you need to prepare a photo or graphic for websites, social media, forms, email, documents, and everyday uploads. Instead of opening a heavy design app, you can change the image width and height directly from your browser.
If you need a quick tool, use the free image resizer from NasajTools. You can upload an image, resize it by pixels, percentage, or target file size, and download the resized version in a few seconds.
This guide explains how to resize image online, when to use pixel resizing, when to use percentage resizing, and how to avoid common image sizing mistakes.
What does it mean to resize an image?
Resizing an image means changing its dimensions. In simple words, you are changing the width and height of the image. For example, a large image that is 4000 × 3000 pixels can be resized to 1200 × 900 pixels for a website or blog post.
This is different from cropping. Cropping removes part of the image. Resizing keeps the image but changes its overall size. This is useful when an image is too large, too wide, too tall, or does not match the required dimensions for a platform.
Resizing is also different from compression. Compression mainly reduces file size. Resizing changes the actual image dimensions. Sometimes resizing also makes the file smaller because the image has fewer pixels, but the two actions are not exactly the same.
Why you may need to resize an image online
There are many situations where an image needs a specific size. Some websites reject large images. Some forms require a maximum width, height, or file size. Social platforms also display images better when they match the recommended dimensions.
You may need to resize images for:
- Website pages and blog posts
- Social media posts
- Profile pictures
- Upload forms
- Email attachments
- Documents and PDFs
- Ecommerce product images
- Thumbnails and banners
Using an online image resizer saves time because you do not need Photoshop, Canva, or another full design tool just to change image dimensions.
How to resize an image online for free in 7 steps
The easiest way to resize image online is to use a tool that lets you upload the image, set the new size, preview the result, and download the resized file. With NasajTools, the process is simple and works directly in your browser.
1. Open the image resizer
Go to the Resize Image Online Free tool. This page is made for resizing images quickly without installing software.
You can use it when you need to change image size for a website, social media platform, upload form, email, or document.
2. Upload your image
Upload your image from your device. You can use common image formats such as JPG, PNG, WebP and other supported file types shown in the upload area.
Before uploading, make sure you choose the correct image. If you have multiple versions of the same photo, use the highest-quality version first. Resizing down from a good source image usually gives a better result than enlarging a very small image.
3. Choose the resize method
An image can be resized in different ways. The best method depends on what you need.
- Resize by pixels: best when you need exact width and height.
- Resize by percentage: best when you want to scale the image smaller or larger proportionally.
- Resize by file size: useful when you are trying to meet an upload limit.
If a platform asks for a specific dimension, use pixel resizing. For example, if a website needs an image at 1200 × 630 pixels, enter those values in the width and height fields.
4. Keep aspect ratio when needed
Aspect ratio controls the relationship between width and height. If you resize only the width and ignore the height, the image may look stretched or squeezed.
When you want the image to keep its natural shape, keep the aspect ratio locked. This is especially useful for photos, product images, profile pictures, and website graphics.
5. Preview the image
After you choose the size, preview the image before using it. Check that the subject still looks natural, the image is not stretched, and the size matches your goal.
This step is important when you resize image online for profile photos, product images, thumbnails, and banners because small layout problems can become very visible after upload.
6. Download the resized image
After resizing, download the final image and open it before using it. Make sure it looks clear, fits the required size, and is not distorted.
If the image still looks too large in file size, you can use an image compressor after resizing.
7. Use the image in the right place
Once the image is ready, upload it to your website, social media account, document, email, store, or form. Keep a copy of the original image in case you need another size later.
Resize image by pixels
Pixel resizing is the best option when you need exact dimensions. A pixel is the smallest visual unit of a digital image. Width and height are usually shown in pixels, such as 800 × 600 or 1920 × 1080.
Use pixel resizing when you need images for:
- Website hero sections
- Blog thumbnails
- Profile photos
- Product listings
- Ad creatives
- Upload forms with size rules
For example, a blog image may need to be 1200 pixels wide. A profile picture may need to be square, like 500 × 500 pixels. A banner may need a wide format, like 1920 × 1080 pixels.
Resize image by percentage
Percentage resizing is useful when you do not need an exact pixel size but want to make the image smaller or larger in proportion.
For example:
- 50% makes the image half the original size.
- 100% keeps the original size.
- 200% makes the image twice as large.
This method is useful when you want quick scaling without calculating exact dimensions. But be careful with large upscaling. Enlarging a small image too much can make it blurry.
Resize image by file size
Some websites and forms have upload limits. For example, a form may say the image must be under 500 KB or under 1 MB. In that case, resizing by target file size can help.
However, file size depends on several things: dimensions, format, image quality, and image content. A simple graphic may become smaller easily. A detailed photo may need stronger optimization.
If your main goal is reducing file size while keeping the same dimensions, use the Image Compressor.
Resize image vs compress image
Resizing and compression are related, but they are not the same.
Image resizing changes the width and height of the image. For example, changing 4000 × 3000 pixels to 1200 × 900 pixels is resizing.
Image compression reduces file size. It may keep the same width and height but optimize quality or encoding to make the file lighter.
Use an image resizer when the image dimensions are wrong. Use an image compressor when the file is too heavy but the dimensions are already correct.
Best image sizes for common uses
There is no single perfect image size for every situation. The right size depends on where the image will be used. But these common sizes can help you start:
- Website content image: 1200 px wide is often enough for blogs and pages.
- Square social post: 1080 × 1080 px is commonly used.
- Wide social preview: 1200 × 630 px is a common sharing size.
- HD image: 1920 × 1080 px is useful for wide screens and banners.
- Profile picture: square sizes like 500 × 500 px or 800 × 800 px often work well.
Always check the platform where you plan to upload the image. Some platforms crop images automatically, so exact dimensions matter.
For a general explanation of image file types and how browsers handle images, you can also read the MDN guide to image file types.
Tips for better image resizing results
Good resizing starts with a good source image. If the original image is blurry, very small, or low quality, resizing will not magically fix it.
Use these tips when you resize image online:
- Start with the largest clean version of the image.
- Avoid extreme upscaling.
- Keep aspect ratio locked for photos.
- Use exact pixel dimensions when a platform gives size rules.
- Compress the image after resizing if the file is still too large.
- Use WebP when you need modern web-friendly images.
If you need to change the image format after resizing, you can use the Image Converter or the JPG to WebP Converter.
Common mistakes when resizing images
One common mistake is stretching the image. This happens when the width and height are changed without keeping the correct aspect ratio. The result can look unnatural.
Another mistake is using a very small image for a large design space. If you enlarge a small photo too much, it may look soft, blurry, or pixelated.
A third mistake is only thinking about dimensions and ignoring file size. A resized image can still be too heavy for web use if it is not optimized. That is why resizing and compression often work together.
Before using the final file, check:
- Does the image fit the required width and height?
- Does it look clear?
- Is it stretched?
- Is the file size acceptable?
- Is the format correct for where you will upload it?
Useful image tools after resizing
After resizing an image, you may need other quick changes. NasajTools has several related tools that can help you finish the workflow.
- Image Compressor: reduce file size after resizing.
- Image Converter: convert images to another format.
- JPG to WebP Converter: convert JPG files to WebP for modern web use.
- Image to PDF Converter: turn images into a PDF document.
- More Image Tools: browse more tools for image editing and conversion.
Conclusion
Learning how to resize image online is simple. You only need to upload the file, choose the new width and height or another resize method, and download the final image.
If you want a fast option, use the Resize Image Online Free tool from NasajTools. It helps you resize JPG, PNG, WebP and common photo files for websites, social media, forms, emails, documents, and uploads.
For the best result, choose the right dimensions, keep aspect ratio when needed, avoid extreme upscaling, and compress the image after resizing if the file is still too large.